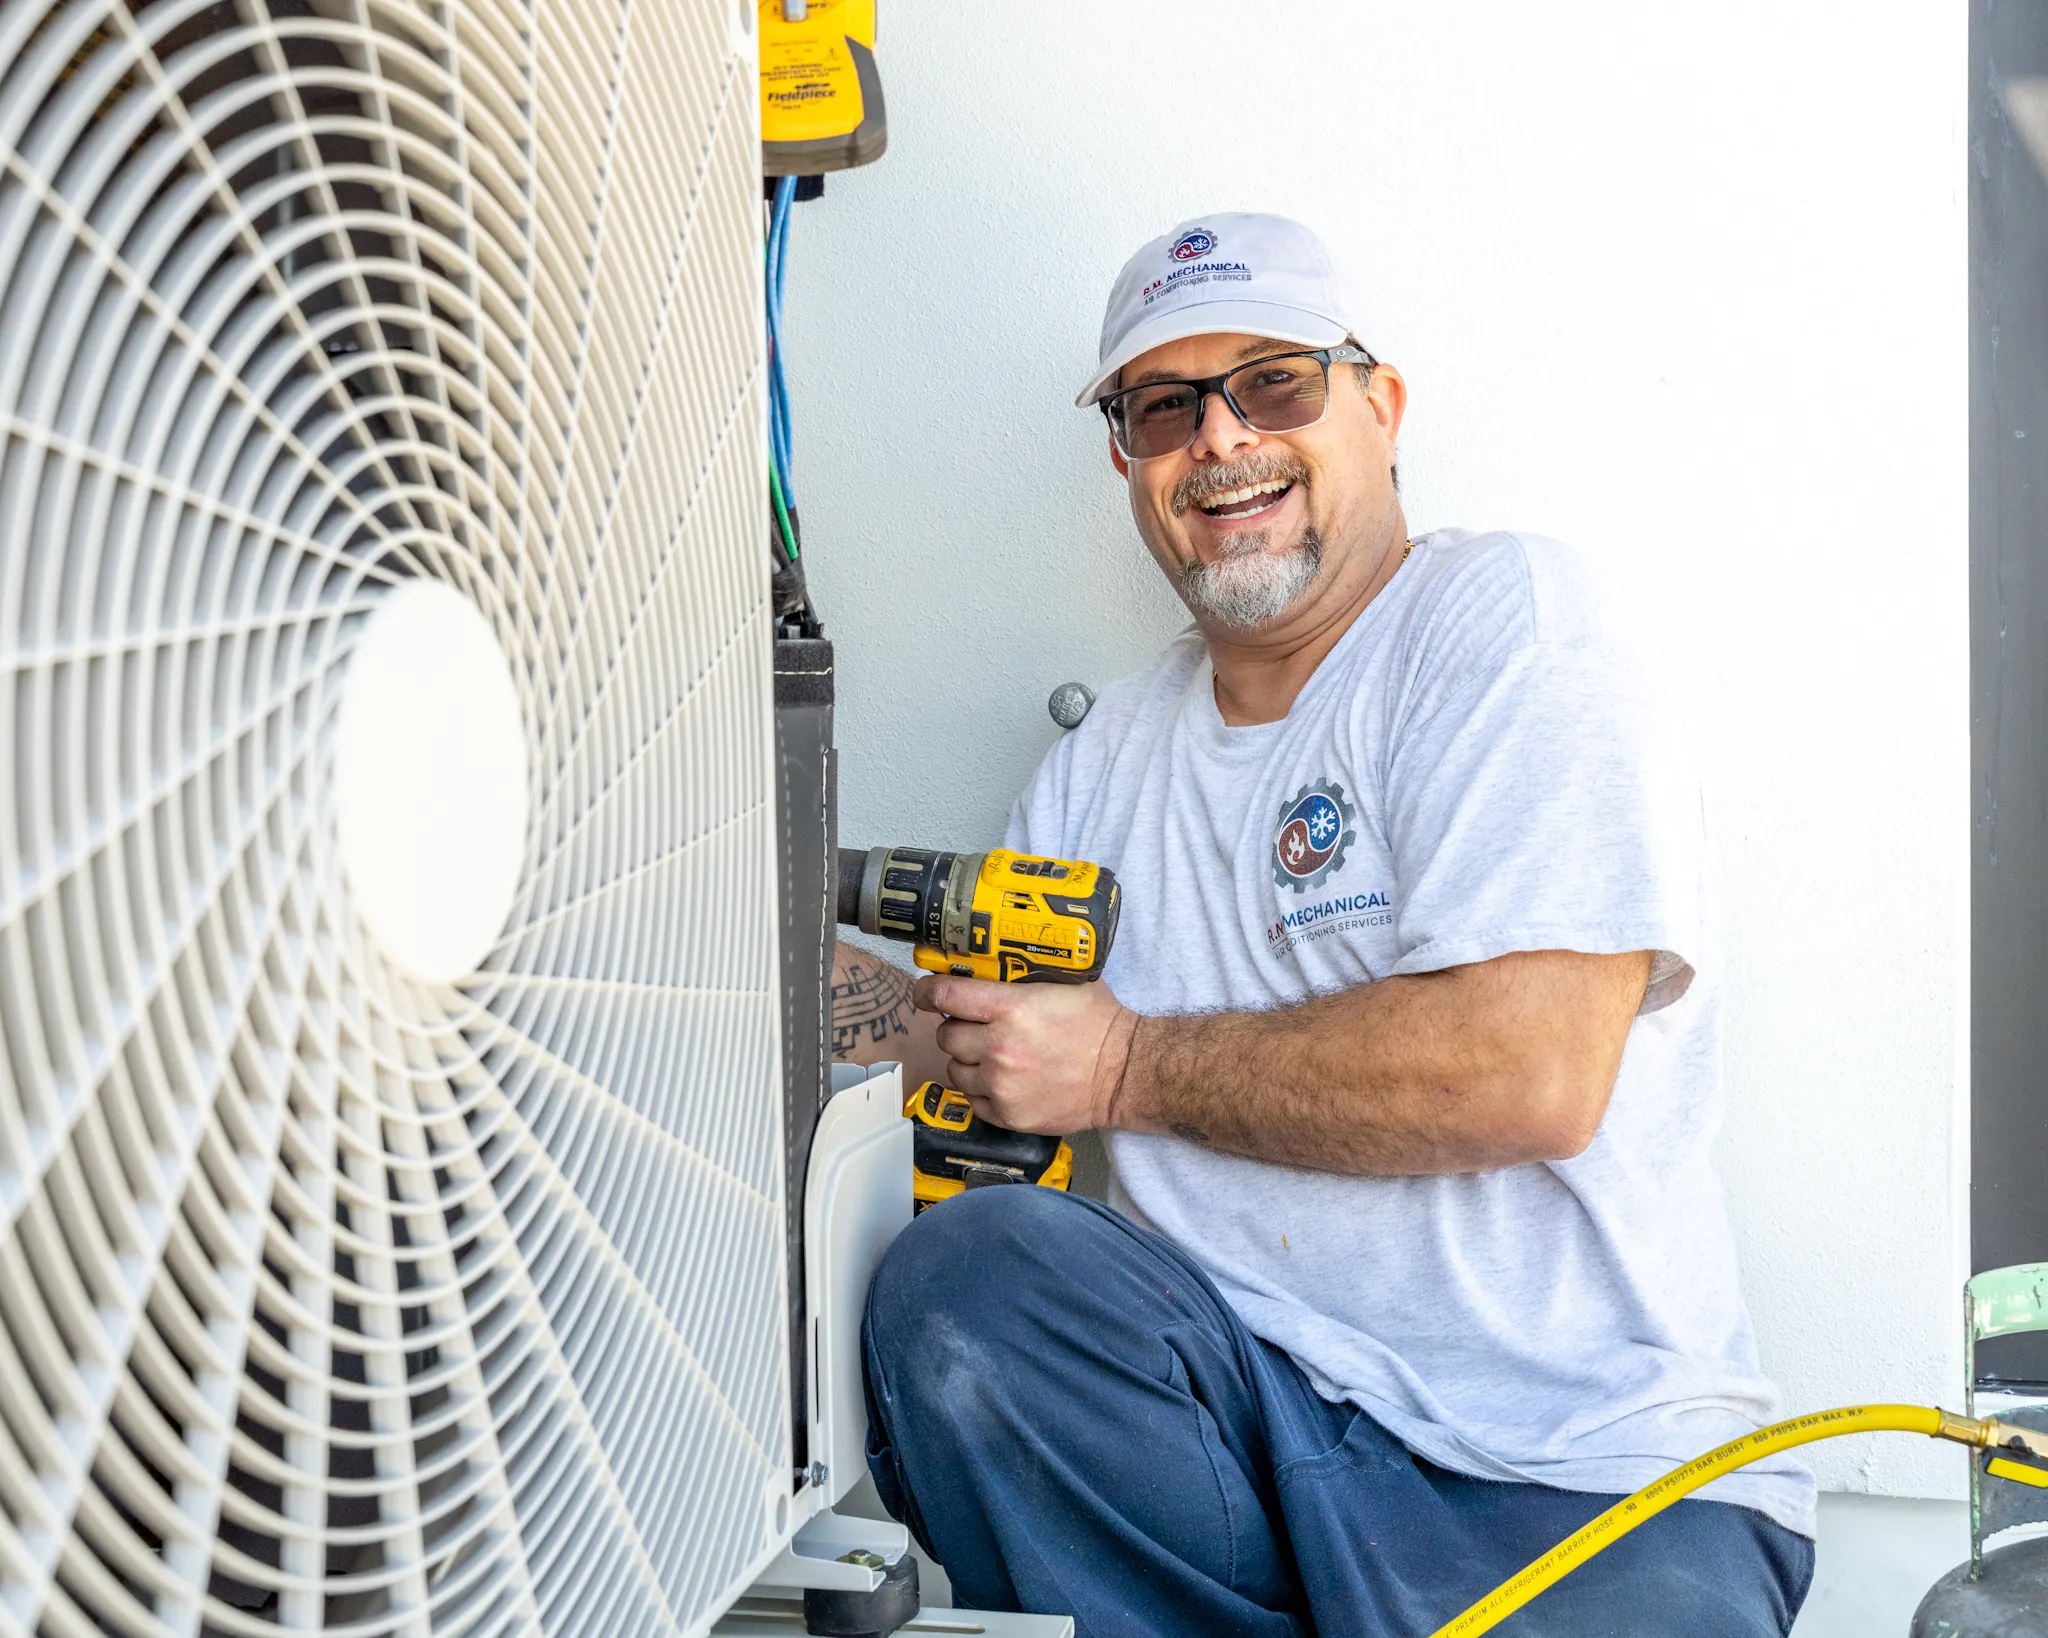
Most people buy an air conditioner two or three times in a lifetime, which means the process is unfamiliar every single time it happens. You are spending a large sum on work you cannot see, performed in a day, by people you met last week. That is an uncomfortable position, and the usual response is to focus on the only thing that is legible: the price. What follows is the other half of the picture. This is what a straightforward residential changeout involves, step by step, so you can tell while it is happening whether yours is going well.
Before the day arrives
A real quote follows a site visit. Not a phone call, not a form on a website, and not a salesperson reading tonnage off the old data plate from the driveway.
That visit should cover four things. A load calculation on your actual house, run against your windows, your insulation, your ceiling heights and your orientation. An inspection of the existing ductwork and, just as important, the returns. A look at the electrical supply, because a higher-efficiency system sometimes wants a different breaker or a different disconnect than what is there. And a conversation about where equipment physically sits, which matters more than people expect once you consider drainage, service access, and the noise outside a bedroom window.
If the ducts are the real constraint, that needs to surface now.
The moment to correct duct problems is while the system is already apart and the attic is already open. Discovering it afterwards means paying twice for access. Sizing is where most of this converges, and how sizing actually works in Florida explains why the calculation is not optional busywork.
The permit gets applied for before work starts. Which office issues it depends on whether your address sits inside a municipality or in unincorporated county, and that varies considerably across the four counties we serve. Tampa, St. Petersburg and several other cities run their own building departments.
On the day
A typical residential changeout runs one day. Expect roughly this sequence.
- Floor protection laid down along the whole work path, and the area around the air handler cleared. Ask ahead of time whether you need to move anything
- Refrigerant recovered from the old system into a recovery tank. This is a legal requirement rather than a courtesy. Venting refrigerant to atmosphere is prohibited, and a crew that does it in front of you is telling you how they handle the rules they think you cannot check
- Old equipment disconnected and pulled, indoors and out
- The pad or platform prepared, and the existing line set evaluated. Sometimes it is reused and sometimes it has to be replaced, and which is correct depends on the refrigerant, the line size, and the condition of what is in the wall
- New equipment set and connected, brazed with nitrogen flowing through the lines
- The system evacuated to pull out air and moisture, then held under vacuum long enough to prove there is no leak
- Charged to the manufacturer's specification, then commissioned. Airflow measured, temperature split checked, safety controls tested
- Condensate line routed and the float switch tested, thermostat configured, and the whole system walked through with you before anyone packs up
What good work looks like
Several of the steps above are invisible an hour after they happen, and those are exactly the ones that get skipped when a crew is behind schedule. Knowing what they are is most of the protection you have.
- Nitrogen purge during brazing. Without it, brazing burns oxidized scale onto the inside of the copper. That scale breaks loose later and circulates through the system until it reaches the compressor. There is no way to see it afterwards, which is precisely why it gets skipped
- A genuine vacuum, held and verified with a micron gauge. Not five minutes and a shrug. Moisture left inside a sealed refrigerant system combines with oil and refrigerant to form acid, and that failure arrives years later looking like bad luck
- Charge weighed or measured against spec, never estimated by feel
- Airflow measured, not assumed. A perfectly charged system moving the wrong volume of air still performs badly and still leaves your house humid
- A new drain line and a working float switch. Condensate causes more property damage in this climate than any other HVAC failure mode
- The site left clean and the old equipment hauled away
You are allowed to watch. A good crew will not mind, and several of them will explain what they are doing if you ask.
What the day is like for you
Plan on being without cooling for most of the working day, which in July means the house will climb into the low eighties by mid-afternoon before the new system pulls it back down. Nobody enjoys that, though it passes quickly once the equipment is running.
Doors get propped open while equipment moves in and out. There will be noise, particularly during removal and again during the electrical work. Someone needs to be home, or at least reachable, because decisions come up: the line set turns out to be undersized, the platform under the air handler is rotted, the existing disconnect does not meet current code. None of those are catastrophes, and all of them are cheaper to handle in the moment than to revisit later, but they are your call to make and a crew standing around waiting for a phone call is wasting your day and theirs.
Pets should be somewhere else, or at least behind a closed door.
Two complications push a one-day job into two. Duct replacement is the common one, since running new trunk and branch lines through an attic that reaches 120 to 130 degrees is slow work that cannot be safely rushed. The other is a system change that requires a different electrical service, which sometimes means coordinating with an electrician and occasionally with the utility. A contractor who identified either of these during the site visit will have told you before you signed, and a schedule that grows on the morning of installation is usually a sign that the site visit was not thorough.
Permit and inspection
After the installation, an inspector from whichever authority issued the permit comes out and checks the work. Treat that as protection rather than paperwork. It is the one independent verification in the entire process, performed by somebody with no financial stake in telling you the job went fine.
We pull the permit, schedule the inspection, and meet the inspector ourselves, so it never becomes something you are chasing between work calls.
Any contractor who suggests skipping the permit is proposing that you accept an uninspected installation to save a modest amount, and the savings evaporate the first time a buyer's agent runs a permit history during a home sale.
Afterwards
Register the equipment with the manufacturer, and do it promptly. Extended parts warranties commonly require registration within 60 to 90 days of installation, and this is where coverage gets lost more often than anywhere else. Miss the window and the long warranty quietly reverts to the short base one, which nobody discovers until a part fails. We register the systems we install and confirm the registration back to you, and warranty service covers how the coverage works in practice.
Keep the paperwork somewhere you will find it: model and serial numbers for both pieces of equipment, the installation date, the invoice, and the closed permit.
Then book the first annual service. Two reasons, and both matter. A new system drifts slightly in its first year as the charge settles and the ducts get their first real workout, so an early check catches small problems while they are still small. Beyond that, most manufacturer warranties require documented annual maintenance, and a denied claim on a compressor because nobody kept records is a bad way to learn that. Our maintenance plans exist largely to keep that documentation from being your problem.
We handle installations across Hillsborough, Pinellas, Pasco and Hernando counties, and every price is quoted in writing before a crew is scheduled.